Home | Glossary | Resources | Help | Contact Us | Course Map
Aviso de archivo
Esta es una página de archivo que ya no se actualiza. Puede contener información desactualizada y es posible que los enlaces ya no funcionen como se pretendía originalmente.
Intercomparison
This type of comparison is used to link evidence items from multiple crimes to a single tool and includes the following steps:
- Ensure that the evidence items are marked according to laboratory protocols.
- Confirm that the evidence items bear class and microscopic marks of value for comparison purposes and are suitable for comparison.
- Examine the toolmarks on both evidence items separately and select the one with the best quality individual characteristics.
- Adjust the lighting of the comparison microscope from the rear to provide oblique or grazing illumination over the surface of the marks towards the examiner.
- Place the evidence item with the best marks on the right stage in an appropriate orientation, keeping the best marks in the center of the field of view. Index this best area using a colored permanent marker. In some circumstances, it may be necessary to adapt and improvise (depending on the nature, size, shape, weight, and bulk of the evidence) to ensure that the questioned area can fit into the space between the objective lens and the stage, while still maintaining the ability to shift it in the x, y, and z axes.
This can be accomplished in several ways, such as:- Remove the questioned marks from the evidence item. Before proceeding, obtain appropriate permission to modify the evidence.
- Use plasticene or clay as a foundation to secure the questioned area in an appropriate orientation.
- Fabricate a specimen mount.
- Cast the marks and compare these casts with casts of the test marks.
- Using low magnification (10x-20x), examine the entire surface of this evidence item looking for areas with the most obvious individual characteristics. When such an area is located, leave the right stage in that position.
- Place a second evidence item on the left stage as outlined above.
- Align the evidence marks on both stages to confirm the consistency of class characteristics.
- If the class characteristics are different, the examination should end.
- If the class characteristics are the same, the examination should proceed.
- Move the evidence marks on the left stage to search for individual characteristics similar to the best area of marks on the right stage.
- If an area of sufficient agreement is found, a corresponding index mark should be placed on the toolmark on the left stage as was used to index the mark on the toolmark on the right stage.
- If the toolmarks cannot be matched with each other based on individual marks (no sufficient agreement), the possible reasons for the inconclusive result include the following:
- The toolmarks were made by two different tools.
- Damage occurred that caused distortion, deformation, or elimination of microscopic detail in the toolmark.
- The tool was damaged, extensively used, abused, or remachined (i.e., sharpened) between the time the two marks were made.
- Numerous subclass characteristics may be present.
- The area of best agreement should be documented, preferably by digital or conventional photography or other means, as determined by laboratory protocol. Images should be marked with the examiners initials, case identifier, degree of magnification, item numbers, and a description of the nature of the observed area.
- The above process should be repeated with all evidence toolmarks.
With several evidence items with the same class characteristics and with varying degrees of quality, it may be necessary to use more than one evidence item or multiple marks on a particular item to establish a chain of identifications within a set of submitted items. - Higher magnifications should be used to verify the correspondence of finer striations.
Intercomparison of Fractured Objects
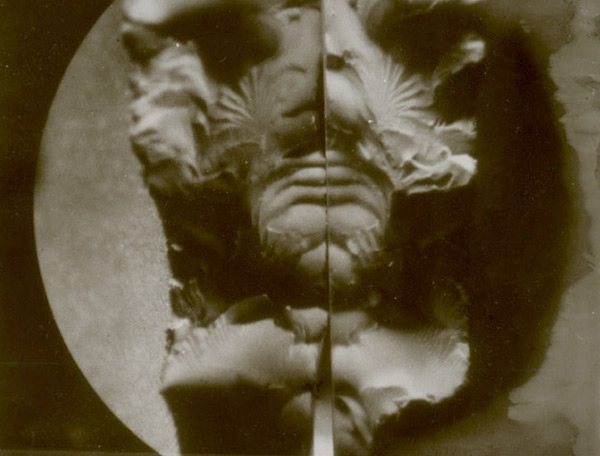
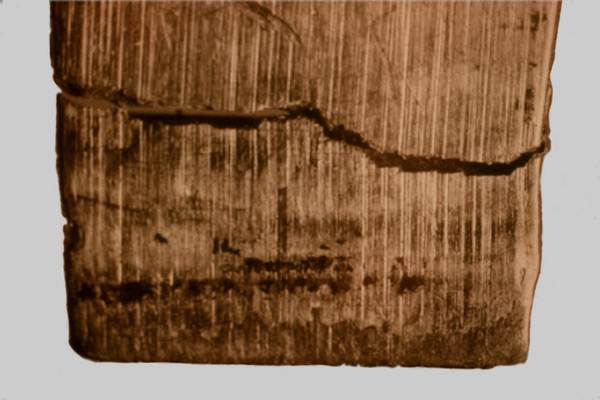
In addition to basic protocols for the examination of tools and the comparison of toolmarks, this section of the module outlines a protocol for the comparison of fractured items, typically brittle metal, plastic, and other materials thought to have once been joined as a single continuous object. Fractured knife blades, broken screwdriver tips, motor vehicle components (excepting glass), and many other similar items fall within this category. Examination and comparison of fractured items are not toolmark examinations within the narrow definition. However, they often involve the same evidence items that bear and produce toolmarks. Comparison microscopy is easily adapted to fracture matches (physical matches) using a reverse lighting technique.
At some point, the crystalline grain structure of an object will fail when sufficient force is applied to that object. This failure will occur along the repeating patterns of atoms in the crystal structure of the object. The failure will be random, unique, and microscopically observable.
Interestingly, when these random and unique failures occur, the high areas on the fractured surface of one piece correspond to the low points on the fractured surface of the other piece. When viewed physically side-by-side using a stereomicroscope, this is very apparent. Likewise, the fractured objects may be physically manipulated such that their previous association is apparent based on easily observable class characteristics and the outline of the two pieces at the point of the break.
Additional Online Courses
- What Every First Responding Officer Should Know About DNA Evidence
- Collecting DNA Evidence at Property Crime Scenes
- DNA – A Prosecutor’s Practice Notebook
- Crime Scene and DNA Basics
- Laboratory Safety Programs
- DNA Amplification
- Population Genetics and Statistics
- Non-STR DNA Markers: SNPs, Y-STRs, LCN and mtDNA
- Firearms Examiner Training
- Forensic DNA Education for Law Enforcement Decisionmakers
- What Every Investigator and Evidence Technician Should Know About DNA Evidence
- Principles of Forensic DNA for Officers of the Court
- Law 101: Legal Guide for the Forensic Expert
- Laboratory Orientation and Testing of Body Fluids and Tissues
- DNA Extraction and Quantitation
- STR Data Analysis and Interpretation
- Communication Skills, Report Writing, and Courtroom Testimony
- Español for Law Enforcement
- Amplified DNA Product Separation for Forensic Analysts


